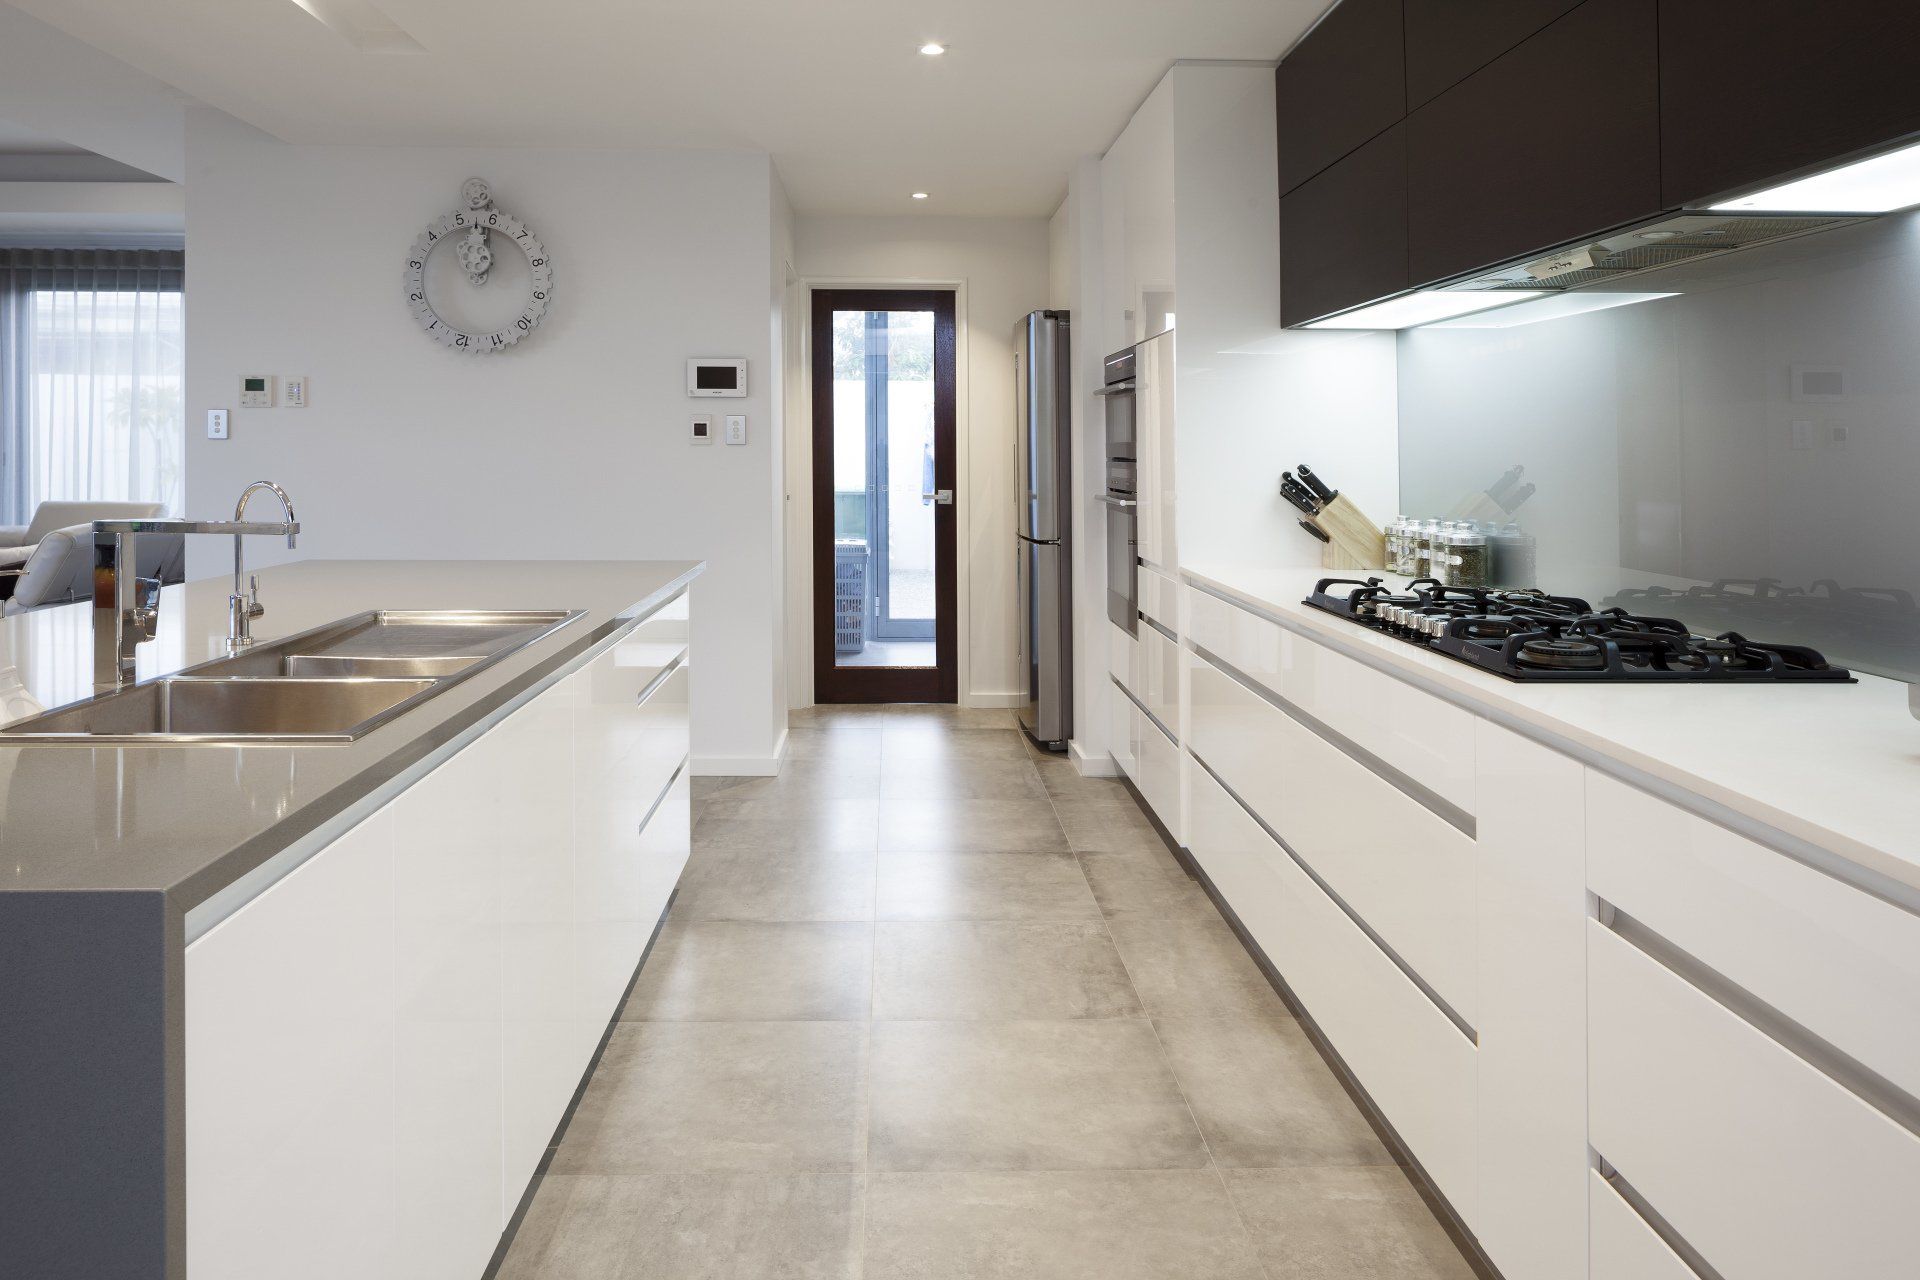


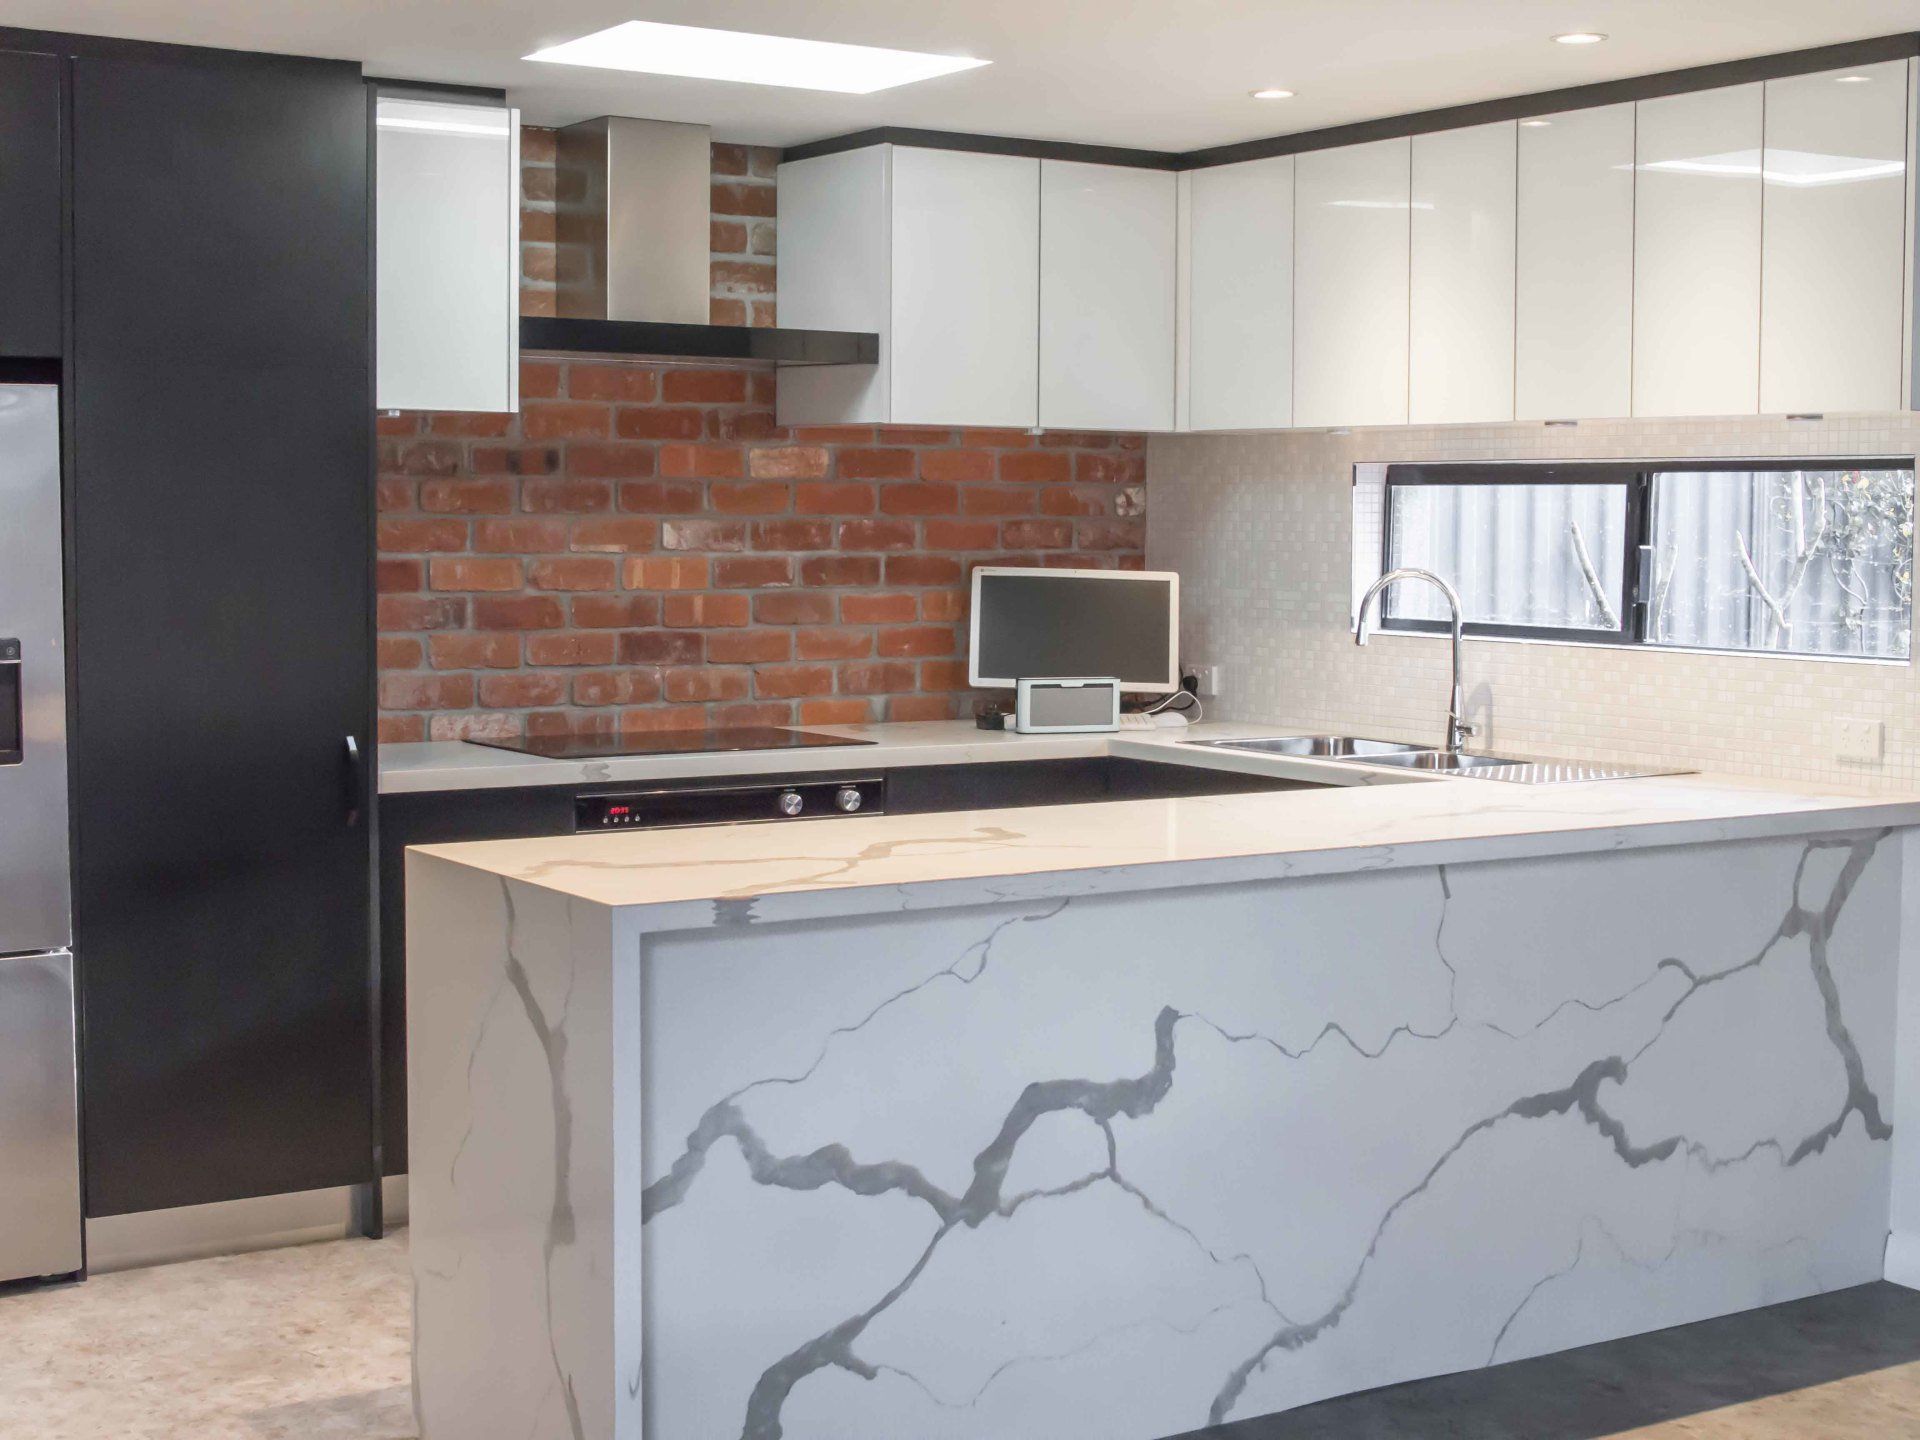

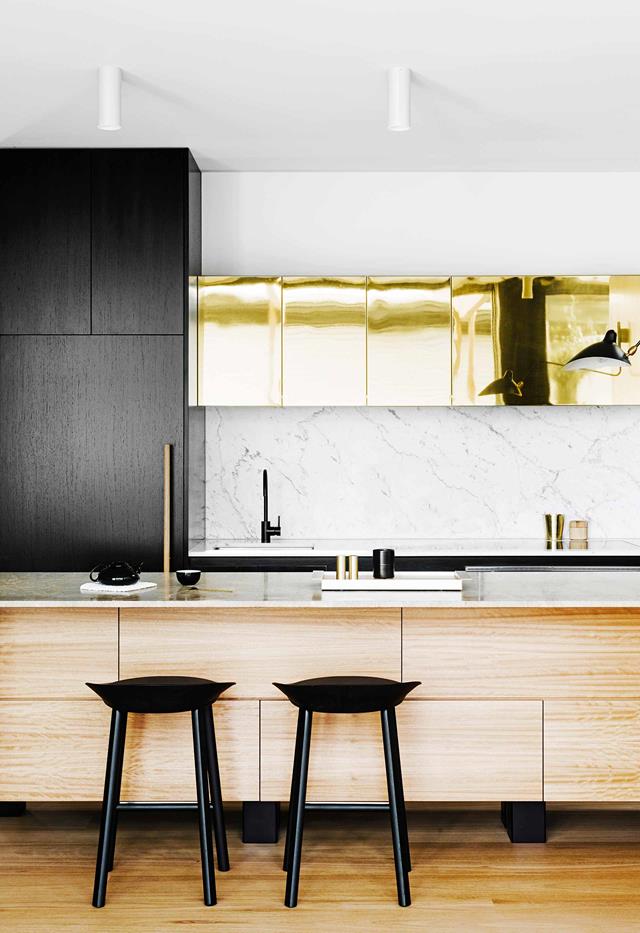
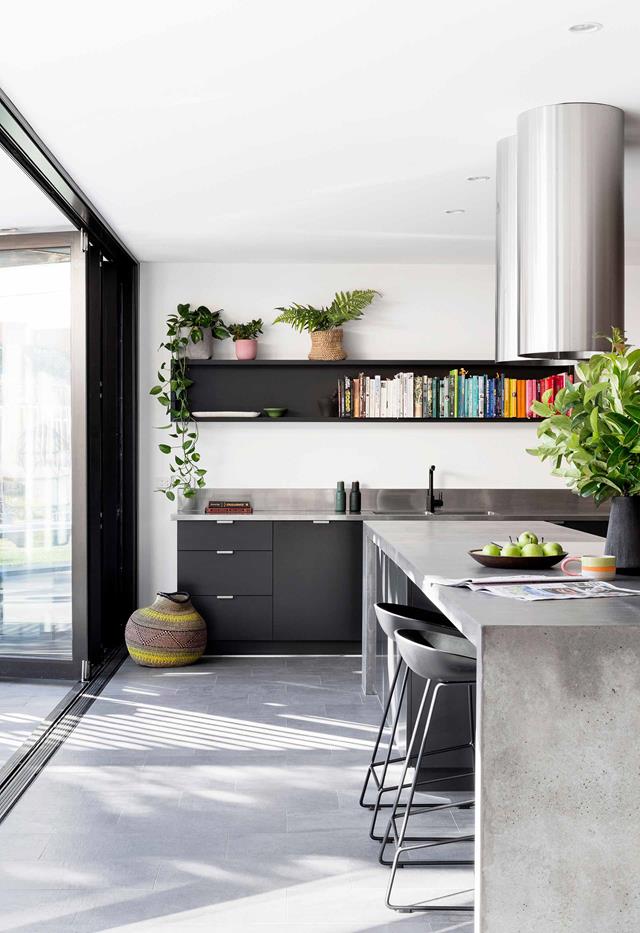
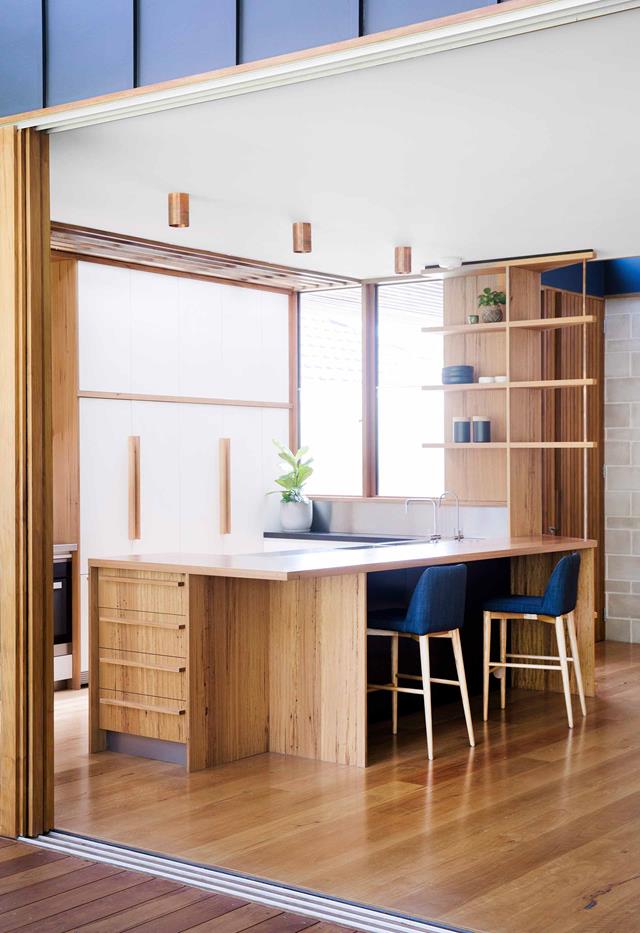
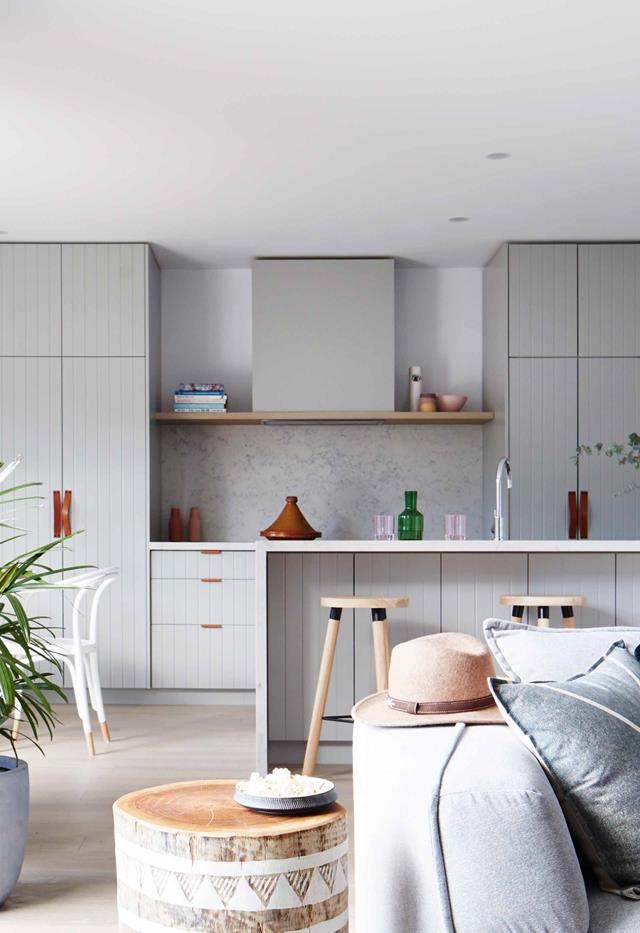
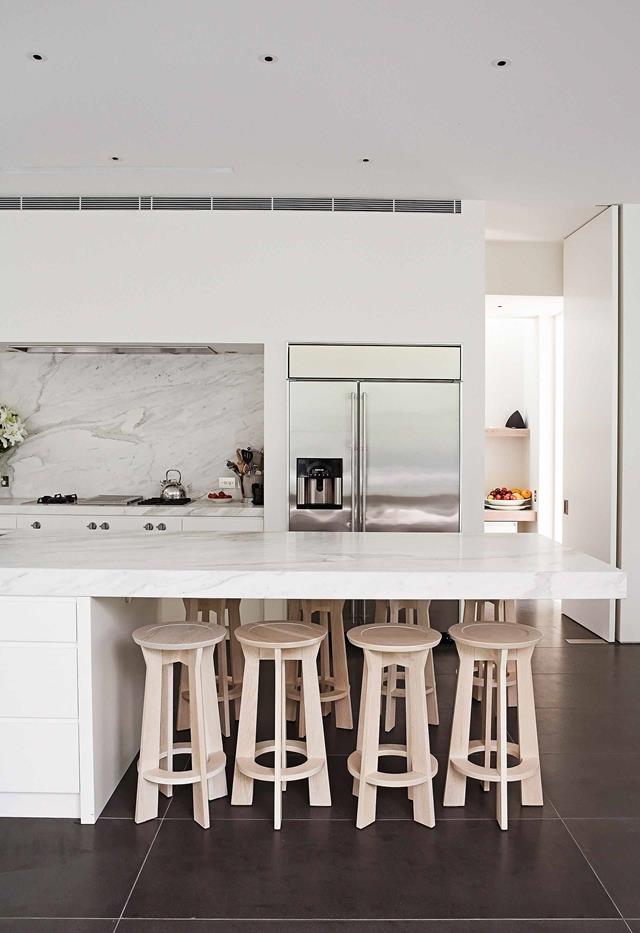
8 steps to nailing your kitchen renovation from start to finish
Admin • Mar 12, 2019
From fixtures to flooring, there’s a lot to think about when renovating a kitchen. Here’s what you need to do (and when) to ensure a smooth process with a great outcome.
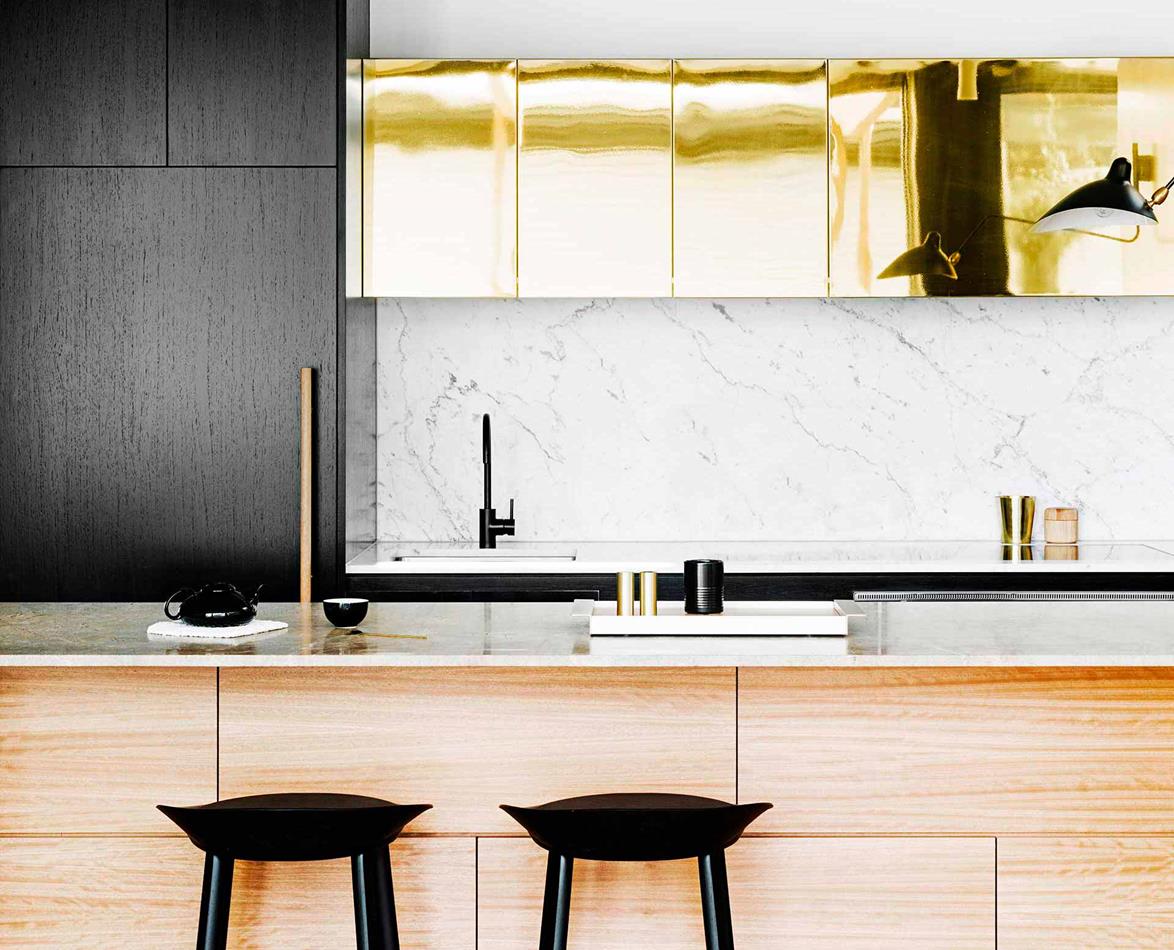
Undertaking kitchen renovation is no easy feat, especially if you're knocking down and rebuilding from scratch. From planning out your layout and floorplan to choosing benchtop materials, splashback designs and all of your appliances, it can quickly become overwhelming.
To help make the process smoother, here are the 8 key steps to follow when renovating your kitchen.
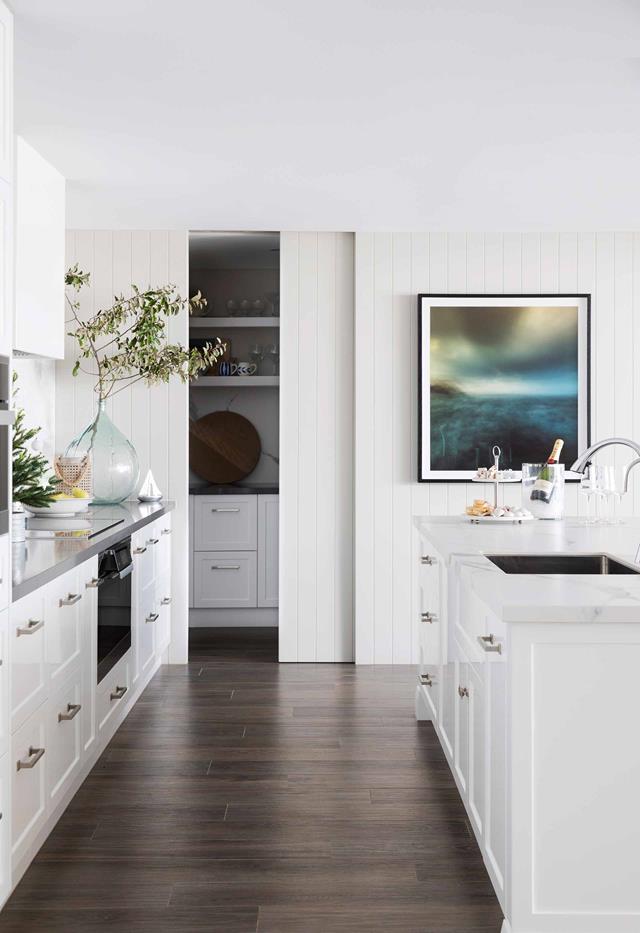
1. DESIGN THE SPACE
First things first – think about what you want to achieve with your space. "Visit showrooms to look at styles and the finishes of products," says industrial designer Graeme Metcalf from Dan Kitchens. "It's essential to look at things in real life rather than online, so you can see the quality of the workmanship."
If your reno involves a new layout, moving walls or changing the plumbing, a kitchen designer is your best bet. "They will help with the ergonomics of a kitchen and give advice on the technical aspects, such as how high above the hob the rangehood must be positioned and where the water and electrical connections should be," says Graeme.
But if you want to keep the layout the same, no worries. "You could approach cabinet-makers directly and have them measure up and quote for you," says Athan Giannikos, builder and managing director at Agia Projects.
2. ORDER APPLIANCES,FIXTURES AND FITTINGS
"The appliances you choose can have implications for how cabinets are made, so the cabinet-maker will need to know what you've ordered before they measure up," says Graeme. "As it can take around five weeks for fixtures and fittings to arrive – double that if you order from overseas – order them as soon as possible to ensure there are no hold-ups because installers are waiting for materials.
"It's a good idea to decide on the material for your benchtop and splashback at this stage, but they aren't measured and ordered until after the cabinets are installed to ensure they fit perfectly. However, if you're having a tile splashback, order the tiles now."
3. MEASURE UP
Once your design is ready to go, the cabinet-maker will measure up and provide "shop drawings" – these are the working drawings used to build the kitchen. "They allow the layout of your plumbing and electrical provisions to be finalised, so you can have these trades install the provisions while the kitchen is being built," says Athan. "Allow around three to five weeks for your cabinets to be built."
4. DEMOLISH THE OLD
Everything is ordered, the lead times are confirmed and any permits and permissions are finalised. It's demo time!
"If you're not changing the layout, allow one or two days for the kitchen to be removed, and two to three days for the rewiring and replumbing," says Athan. "If you are changing it, after the old kitchen is demolished, your builder or tradespeople will add walls or windows and move plumbing and electrics."

5. LAY THE FLOOR
Going for a concrete floor? Lay it now. "Concrete floors are a messy job and need to be installed ahead of final finishes to ensure nothing is damaged," says Athan. "Concreters are usually booked about four weeks in advance, and when the floor is poured, it takes about 10 days to cure to a suitably hard surface to work over."
With timber floors, think long term. "If you lay the floor after the kitchen is complete, it saves money, as there's less floor to buy and lay," says Athan. "However, ask yourself if you might change your kitchen again one day. By installing your flooring after the kitchen, you lock yourself in to the layout because there's no flooring underneath the cabinets."
Adds Graeme: "Most people now choose to lay the floor first, with only vinyl or timber laminate done after the kitchen is complete."
6. INSTALL THE NEW
When the space is ready, the installers can build the kickboards, position the cabinets and pre-position your appliances for the electrician and the plumber.
"If tasks are done in the correct order, there's minimal wait time between them," says Graeme. "Some wet trades, though, such as putting in an undermount sink, need a couple of days of drying time. It should take two to five days to install most of the cabinetry."
Once the cabinets are in and appliances pre-positioned, the benchtop and splashback can be measured. "Expect to wait a week or two for these to arrive and be installed," says Graeme. "If there are joins in your benchtop, the grout will need a couple of days to dry before you use it. Ask the installer for advice."
7. CONNECT THE SERVICES
"Now's the time for the electrician and plumber to connect appliances, sinks, taps and lighting," says Athan. "Ideally, this happens after everything is installed so you only have to pay for one visit. However, you may need an electrician or plumber to come in before the benchtop is installed, as some appliances will be tricky to access once the benchtops go on. Talk to your tradespeople to find the best way to do it."
8. GET COOKING
"Most people might do one or maybe two kitchen renovations in their lifetime," says Graeme. "So, to end up with a kitchen you love using, do your research, keep up to date with the market and employ qualified professionals."

Most of us would know which cleaning agents are the best for different types of objects. As an example, we would use dish detergents for washing dishes, fabric softener to use with our detergent for clothes and the like. However, when furniture pieces are involved this process can get a little tricky. Here, we discuss some of the best cleaning tools that you can use to keep your benchtops clean! In particular, we will be discussing how to clean the surfaces of engineered stone benchtops Perth .
Many of us see our kitchen benchtops as a cooking workstation. However, depending on the placement and design of the benchtops that you have installed in your kitchen, there are various other ways that you can use it even outside of cooking hours! Below, we talk about how you can also use your kitchen benchtops.
It’s one thing to have installed your kitchen benchtop for both functional and decorative purposes, but there are still many other ways that you can enhance the visuals in your kitchen to complement your benchtops better! Below, we’ll discuss several ways that you can decorate your kitchen to make sure that your benchtop design stands out more.
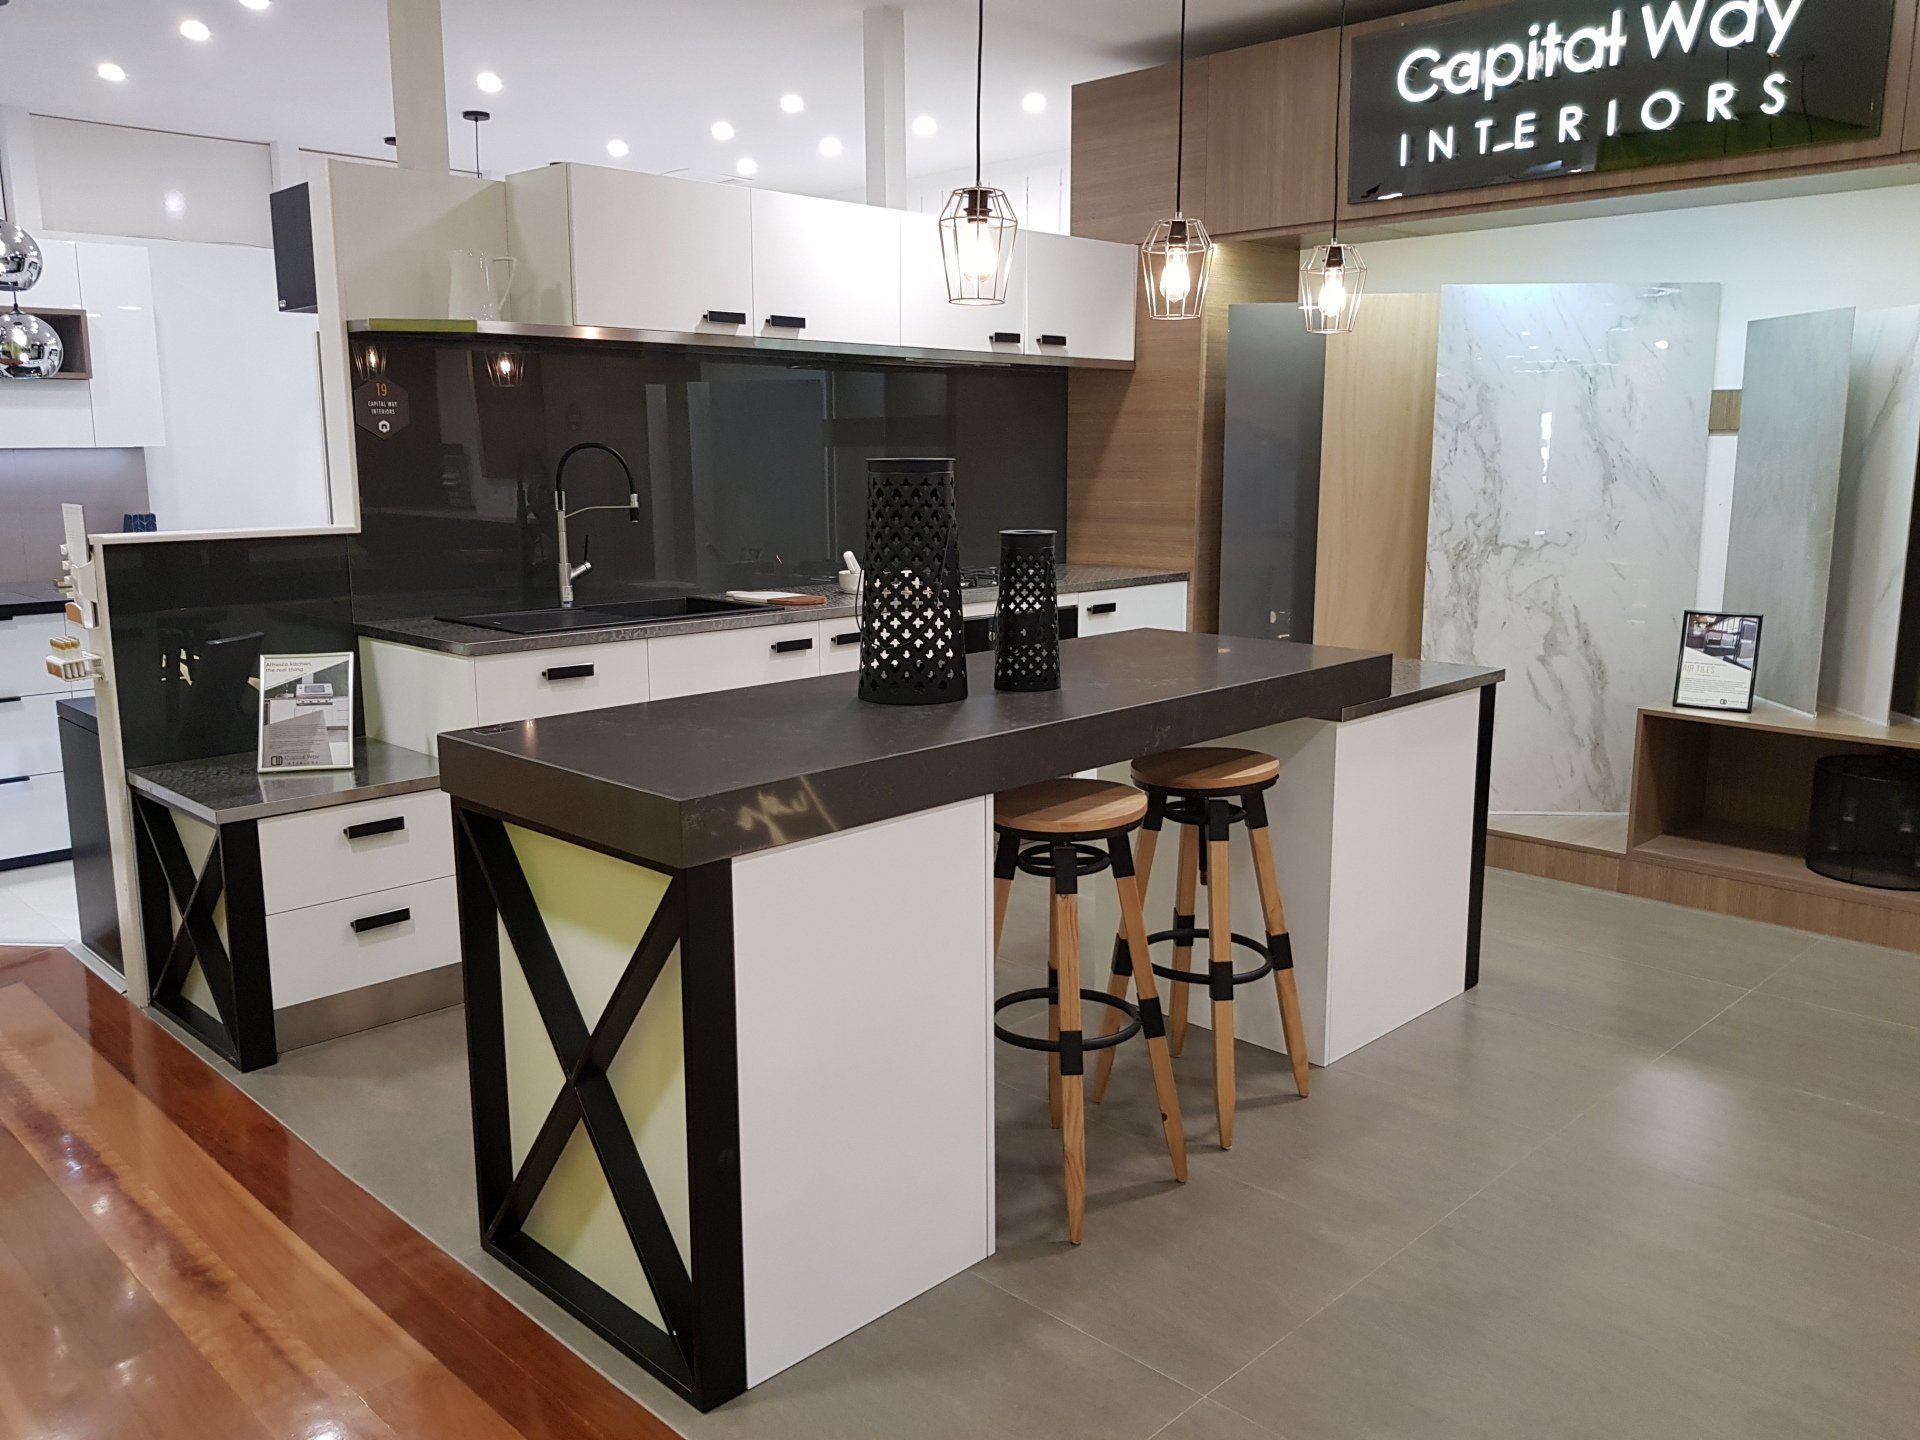
Capital Way Interiors is a home renovations specialist and an interior designer located in Perth, Western Australia.
VISIT
Perth Showroom
12 Barley Place,
Canning Vale 6155, Perth
Western Australia
CONTACT
shaun@capitalwayinteriors.com
(08) 9455 7883
CONNECT
Designed by Trinity42 Sdn Bhd